👂 文本分类:使用 small-text 的主动学习#
在本教程中,您将学习如何使用 Hugging Face transformer 设置完整的主动学习循环
使用优秀的 small-text 库设置您的主动学习器;
使用 Argilla 监听器 构建并启动主动学习循环;
使用 Argilla UI 标注示例并进行主动学习;

简介#
主动学习是机器学习的一个特例,其中学习算法可以交互式地查询用户(或某些其他信息源),以标注具有所需输出的新数据点。维基百科
监督机器学习通常需要大量标注数据,而这些数据的生成成本很高。主动学习 (AL) 系统试图克服这种标注瓶颈。其基本思想是,并非所有数据点对于训练模型都同等重要。AL 系统尝试仅从大量未标注数据中查询最相关的数据,以便由所谓的预言机进行标注,而预言机通常是人工标注员。因此,AL 系统通常比传统的监督系统更具样本效率,并且需要的训练数据少得多。
本教程将向您展示如何将 Argilla 整合到涉及人工在环的主动学习工作流程中。我们将通过结合主动学习框架 small-text 和 Argilla 来构建一个简单的文本分类器。Hugging Face 的 transformers 将提供我们将嵌入到 small-text 的主动学习器中的分类器。Argilla 擅长让您成为预言机,通过直观的 UI 方便地教导模型。
运行 Argilla#
对于本教程,您需要运行 Argilla 服务器。部署和运行 Argilla 有两个主要选项
在 Hugging Face Spaces 上部署 Argilla:如果您想使用外部 Notebook(例如 Google Colab)运行教程,并且您在 Hugging Face 上有一个帐户,您只需点击几下即可在 Spaces 上部署 Argilla
有关配置部署的详细信息,请查看 官方 Hugging Face Hub 指南。
使用 Argilla 的快速入门 Docker 镜像启动 Argilla:如果您想在 本地机器上运行 Argilla,这是推荐选项。请注意,此选项仅允许您在本地运行教程,而不能使用外部 Notebook 服务。
有关部署选项的更多信息,请查看文档的部署部分。
提示
本教程是一个 Jupyter Notebook。有两种运行它的选项
使用此页面顶部的“在 Colab 中打开”按钮。此选项允许您直接在 Google Colab 上运行 Notebook。不要忘记将运行时类型更改为 GPU,以加快模型训练和推理速度。
单击页面顶部的“查看源代码”链接下载 .ipynb 文件。此选项允许您下载 Notebook 并在本地机器或您选择的 Jupyter Notebook 工具上运行它。
[ ]:
%pip install "argilla[listeners]~=1.16.0" "datasets~=2.5.0" "small-text~=1.3.2" "transformers[torch]"
让我们导入 Argilla 模块以进行数据读取和写入
[ ]:
import argilla as rg
如果您使用 Docker 快速入门镜像或 Hugging Face Spaces 运行 Argilla,则需要使用 URL 和 API_KEY 初始化 Argilla 客户端
[ ]:
# Replace api_url with the url to your HF Spaces URL if using Spaces
# Replace api_key if you configured a custom API key
# Replace workspace with the name of your workspace
rg.init(
    api_url="https://:6900",
    api_key="owner.apikey",
    workspace="admin"
)
如果您正在运行私有的 Hugging Face Space,您还需要按如下方式设置 HF_TOKEN
[ ]:
# # Set the HF_TOKEN environment variable
# import os
# os.environ['HF_TOKEN'] = "your-hf-token"

# # Replace api_url with the url to your HF Spaces URL
# # Replace api_key if you configured a custom API key
# # Replace workspace with the name of your workspace
# rg.init(
#     api_url="https://[your-owner-name]-[your_space_name].hf.space",
#     api_key="owner.apikey",
#     workspace="admin",
#     extra_headers={"Authorization": f"Bearer {os.environ['HF_TOKEN']}"},
# )
启用遥测#
我们从您与我们教程的互动中获得宝贵的见解。为了改进自己,为您提供最合适的内容,使用以下代码行将帮助我们了解本教程是否有效地为您服务。虽然这是完全匿名的,但如果您愿意,可以选择跳过此步骤。有关更多信息,请查看 遥测 页面。
[ ]:
try:
    from argilla.utils.telemetry import tutorial_running
    tutorial_running()
except ImportError:
    print("Telemetry is introduced in Argilla 1.20.0 and not found in the current installation. Skipping telemetry.")
TREC 数据集#
在本教程中,我们将使用著名的 TREC 数据集,其中包含 6000 个标注问题;训练集中有 5500 个,测试集中有 500 个。此数据集可以转换为文本分类任务,其中模型必须根据问题预测六个粗略标签之一。标签包括缩写 (ABBR)、实体 (ENTY)、描述 (DESC)、人类 (HUM)、位置 (LOC) 和数值 (NUM)。
让我们从 Hugging Face Hub 加载数据集
[ ]:
import datasets

trec = datasets.load_dataset("trec", version=datasets.Version("2.0.0"))
预处理数据集#
我们首先需要将数据集包装在 small-text 提供的特定数据类中,这是我们将在本教程中使用的优秀主动学习框架。由于我们将在主动学习器中选择 Hugging Face transformer,因此 small-text 将期望 TransformersDataset 对象,该对象已包含标记化的输入文本。
为了构建 TransformersDataset 对象,我们首先需要一个分词器
[ ]:
import torch
from transformers import AutoTokenizer

# Choose transformer model: In non-gpu environments we use a tiny model to reduce the runtime
if not torch.cuda.is_available():
    transformer_model = "prajjwal1/bert-tiny"
else:
    transformer_model = "bert-base-uncased"

# Init tokenizer
tokenizer = AutoTokenizer.from_pretrained(transformer_model)
有了这个,我们可以通过调用 TransformersDataset.from_arrays() 来创建 TransformersDataset,它需要一个文本列表、一个 numpy 数组(表示单标签分类)、一个分词器,以及最后是此数据集中目标标签的可能(整数值)。
[ ]:
import numpy as np
from small_text import TransformersDataset

num_classes = trec["train"].features["coarse_label"].num_classes
target_labels = np.arange(num_classes)

train_text = [row["text"] for row in trec["train"]]
train_labels = np.array([row["coarse_label"] for row in trec["train"]])

# Create the dataset for small-text
dataset = TransformersDataset.from_arrays(
    train_text, train_labels, tokenizer, target_labels=target_labels
)
我们还将创建一个测试数据集,以跟踪 transformer 模型在主动学习循环期间的性能。
[ ]:
# Create test dataset
test_text = [row["text"] for row in trec["test"]]
test_labels = np.array([row["coarse_label"] for row in trec["test"]])

dataset_test = TransformersDataset.from_arrays(
    test_text, test_labels, tokenizer, target_labels=np.arange(num_classes)
)
设置主动学习器#
现在我们已经准备好数据集了,让我们设置主动学习器。为此,我们需要两个组件
要训练的分类器;
用于获取最相关数据的查询策略;
在我们的案例中,我们选择 Hugging Face transformer 作为分类器,并选择 平局破坏器 作为查询策略。后者选择数据池中两个最有可能预测的标签之间边距较小的实例。
[ ]:
import logging

from small_text import (
    BreakingTies,
    PoolBasedActiveLearner,
    TransformerBasedClassificationFactory,
    TransformerModelArguments,
)

# Set logger to get training feedback
logging.getLogger("small_text").setLevel(logging.INFO)

# Define our classifier
clf_factory = TransformerBasedClassificationFactory(
    TransformerModelArguments(transformer_model),
    num_classes=6,
    kwargs={"verbosity": 100}
    # If you have a cuda device, specify it here.
    # Otherwise, just remove the following line.
    # kwargs={"device": "cuda"}
)

# Define our query strategy
query_strategy = BreakingTies()

# Use the active learner with a pool containing all unlabeled data
active_learner = PoolBasedActiveLearner(clf_factory, query_strategy, dataset)
由于大多数查询策略(包括我们的策略)都需要训练有素的模型,因此我们从数据池中随机抽取一个子集来初始化我们的 AL 系统。在获得这批实例的标签后,主动学习器将使用它们来创建第一个分类器。
[ ]:
from small_text import random_initialization
import numpy as np

# Fix seed for reproducibility
np.random.seed(42)


# Number of samples in our queried batches
NUM_SAMPLES = 20

# Randomly draw an initial subset from the data pool
initial_indices = random_initialization(dataset, NUM_SAMPLES)
Argilla 和您:完美的预言机#
我们的主动学习器已准备就绪,现在是时候教导它了。我们首先创建一个 Argilla 数据集,以记录和标注主动学习器查询的初始随机批次。
[ ]:
import argilla as rg

# Choose a name for the dataset
DATASET_NAME = "trec-with-active-learning"

# Define the labeling schema
labels = trec["train"].features["coarse_label"].names
settings = rg.TextClassificationSettings(label_schema=labels)

# Create a dataset with a label schema
rg.configure_dataset_settings(name=DATASET_NAME, settings=settings)

# Create records from the initial batch
records = [
    rg.TextClassificationRecord(
        text=trec["train"]["text"][idx],
        metadata={"batch_id": 0},
        id=int(idx),
    )
    for idx in initial_indices
]

# Log the initial records to Argilla
rg.log(records, DATASET_NAME)
在切换到 Argilla UI 以标注记录之前,我们将设置主动学习循环。为此,我们将使用 Argilla 的 listener 装饰器。一旦标注了批次的所有记录,循环将自动运行(请参阅装饰器的 query 和 condition 参数)。它将触发分类器的训练,从主动学习器查询新批次,并将其记录到 Argilla。我们还将通过在测试集上评估当前分类器来跟踪其准确性。
[ ]:
from argilla.listeners import listener
from sklearn.metrics import accuracy_score

# Define some helper variables
LABEL2INT = trec["train"].features["coarse_label"].str2int
ACCURACIES = []

# Set up the active learning loop with the listener decorator
@listener(
    dataset=DATASET_NAME,
    query="status:Validated AND metadata.batch_id:{batch_id}",
    condition=lambda search: search.total == NUM_SAMPLES,
    execution_interval_in_seconds=3,
    batch_id=0,
)
def active_learning_loop(records, ctx):
    # 1. Update active learner
    print(f"Updating with batch_id {ctx.query_params['batch_id']} ...")
    y = np.array([LABEL2INT(rec.annotation) for rec in records])

    # initial update
    print(
        "Starting training! Depending on your device, this might take a while, so set up"
        " logging."
    )
    if ctx.query_params["batch_id"] == 0:
        indices = np.array([rec.id for rec in records])
        active_learner.initialize_data(indices, y)
    # update with the prior queried indices
    else:
        active_learner.update(y)
    print("Done!")

    # 2. Query active learner
    print("Querying new data points ...")
    queried_indices = active_learner.query(num_samples=NUM_SAMPLES)
    new_batch = ctx.query_params["batch_id"] + 1
    new_records = [
        rg.TextClassificationRecord(
            text=trec["train"]["text"][idx],
            metadata={"batch_id": new_batch},
            id=idx.item(),
        )
        for idx in queried_indices
    ]

    # 3. Log the batch to Argilla
    rg.log(new_records, DATASET_NAME)

    # 4. Evaluate the current classifier on the test set
    print("Evaluating current classifier ...")
    accuracy = accuracy_score(
        dataset_test.y,
        active_learner.classifier.predict(dataset_test),
    )

    ACCURACIES.append(accuracy)
    ctx.query_params["batch_id"] = new_batch
    print("Done!")

    print("Waiting for annotations ...")
启动主动学习循环#
现在我们可以启动循环并切换到 Argilla UI。
[ ]:
active_learning_loop.start()
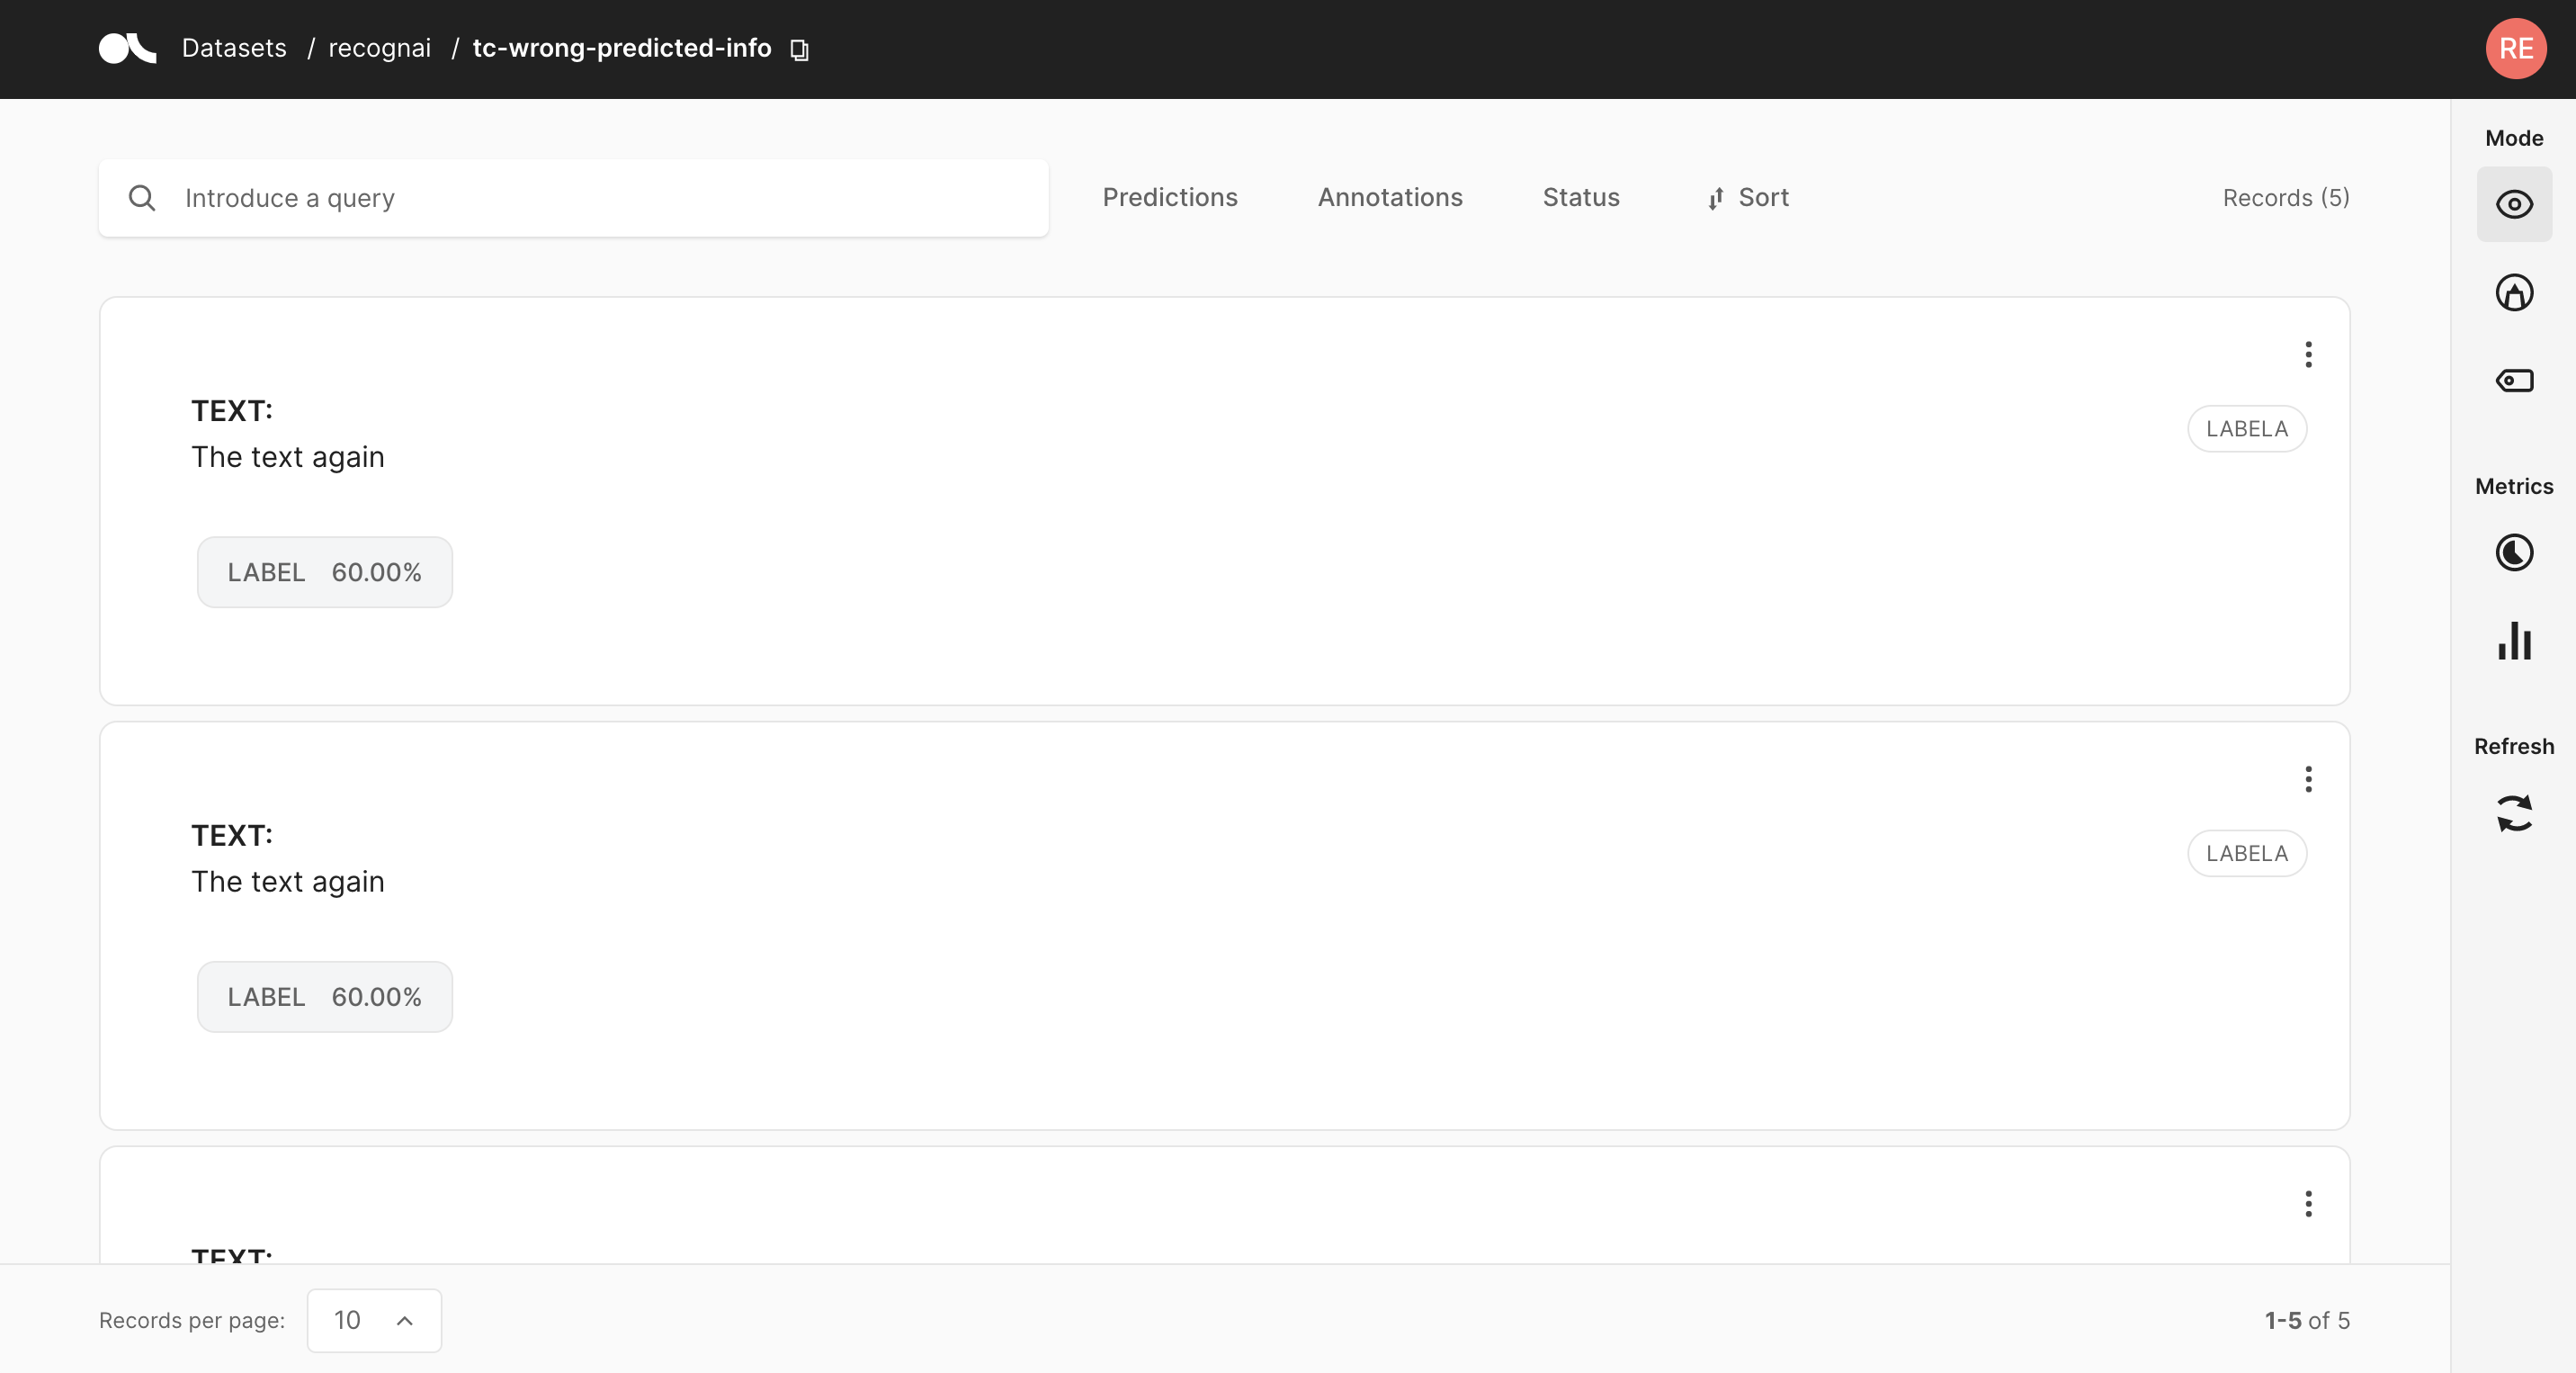
在 Argilla UI 中,我们将每页记录数设置为 20,因为这也是我们选择的批次大小。此外,我们将使用 状态过滤器 来过滤掉已标注的记录。现在,我们所要做的就是标注显示的记录。标注完所有内容后,将自动触发分类器的训练。
几秒钟后,当按下 刷新按钮 时,您应该会看到新查询的批次。训练可能需要更长的时间,具体取决于您的机器以及您是否拥有 CUDA 设备。您始终可以从 Notebook 中检查主动学习循环的状态。
我们可以停止吗?#
经过几次迭代后,我们可以检查当前分类器的准确性并绘制其评估结果。
[ ]:
import pandas as pd

pd.Series(ACCURACIES).plot(xlabel="Iteration", ylabel="Accuracy")
经过大约 12 次迭代后,我们应该达到至少 0.8 的准确率,这对应于大约 260 条标注记录。停止标准最终取决于您,您可以选择更复杂的标准,例如 small-text 中实现的 KappaAverage。
[ ]:
active_learning_loop.stop()
总结#
在本教程中,我们看到了如何将 Argilla 嵌入到涉及人工在环的主动学习循环中。我们依靠 small-text 在主动学习设置中使用 Hugging Face transformer。最后,我们通过 仅标注模型信息量最大的记录 来收集 样本高效的数据集。
Argilla 使将专门的标注团队或主题专家用作主动学习系统的预言机变得非常容易。他们只会与 Argilla UI 交互,而不必担心训练或查询系统。我们鼓励您在下一个项目中尝试主动学习,让您和您的标注员的生活更轻松一些。


